Master Your Network: Navigating Router Settings for Secure WiFi and Admin Access
In today's interconnected world, your home or office router is the central hub of your digital life. It's the gatekeeper, controlling access to the internet and managing all devices on your local network. Gaining control over its settings is paramount for optimizing performance, enhancing security, and truly mastering your online experience. While the idea of accessing your router's administration panel might seem daunting, it's a straightforward process once you understand the correct steps and common pitfalls, especially those related to confusing IP addresses like the often-mistyped Https //192 L.168.1.1.
This comprehensive guide will demystify router access, walk you through securing your WiFi password, and ensure your admin access remains protected against unauthorized entry. We'll clarify common IP address errors, including the infamous "L" typo, and empower you with the knowledge to maintain a robust and secure network.
Decoding the Gateway: Understanding 192.168.1.1 and Common IP Address Variations
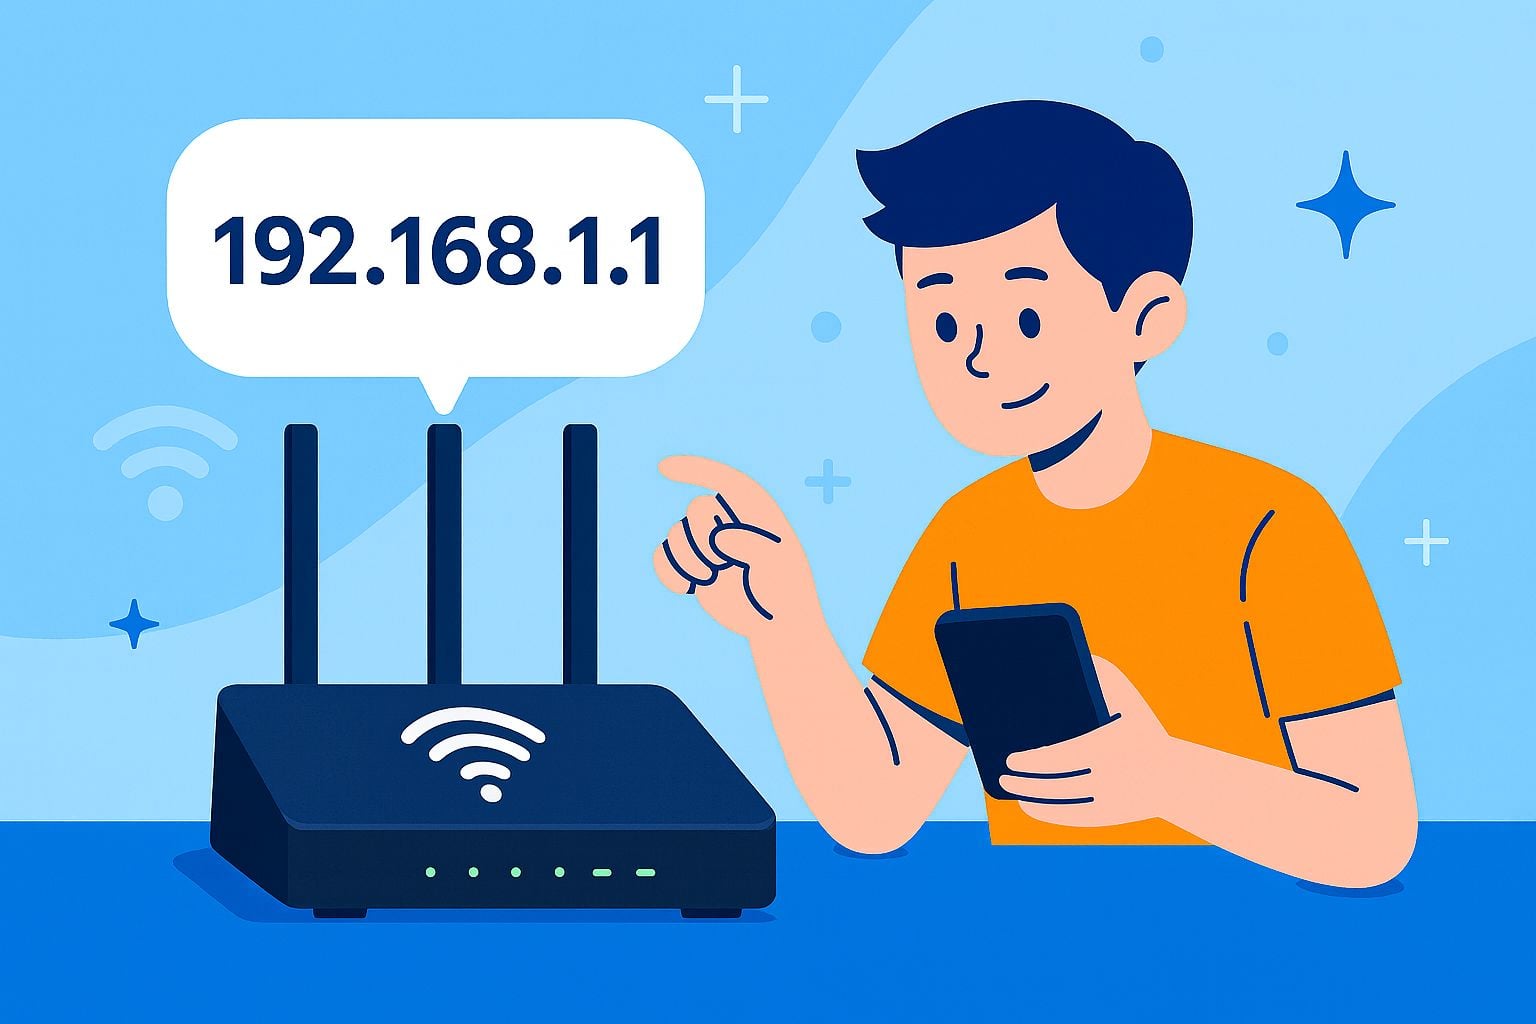
At the heart of router access lies the concept of a default gateway IP address. This is a unique identifier assigned to your router on your local network, allowing your computer to communicate with it. One of the most common default IP addresses used by a multitude of networking brands is 192.168.1.1. This specific IP falls within the "C Class" of private IP addresses, typically used for local networks, with a subnet mask of 255.255.255.0.
Many popular and leading brands, including a wide array of WiFi routers, cable modems, and signal booster devices from manufacturers like Wavlink and Wiwafifa range extenders, utilize 192.168.1.1 as their default gateway. However, it's crucial to understand that not all routers use this exact address. Other frequently encountered default IPs include 192.168.0.1, 192.168.2.1, and even 192.168.188.1. Each router brand, and sometimes different models within the same brand, may opt for a different default.
One of the most frequent errors users encounter when trying to access their router is a simple but critical typo: confusing the numeral "1" or "0" with the lowercase letter "l". This leads to searches and attempts to log in to addresses like "192.168.l.1" or "192.168.l.0.1". It's important to remember that these are not valid IP addresses and will inevitably result in an error message. Similarly, while you might encounter searches for Https //192 L.168.1.1, most home routers typically use the less secure, unencrypted http:// protocol for their local login page. If you try to access with https:// and it fails, always revert to http://.
For more details on common IP addresses, check out our guide on 192.168.0.1: Your Router Admin Login Guide. Understanding these distinctions is the first step toward successful router administration.
Step-by-Step Guide to Accessing Your Router's Admin Panel
Accessing your router's admin panel is the gateway to controlling your network. Here’s a detailed guide:
1. Ensure a Proper Connection
- Wired Connection (Recommended): For initial setup or troubleshooting, connect your computer directly to one of your router's LAN (Ethernet) ports using an Ethernet cable. This ensures a stable connection independent of WiFi issues.
- Wireless Connection: Alternatively, connect your device to your router's WiFi network. Make sure you are connected to *your* router, not a neighbor's or a public network.
2. Find Your Router's IP Address
Before you can log in, you need the correct IP address for *your* specific router:
- Check the Router's Sticker: Most routers have a label on the bottom or back that lists the default IP address, along with default username and password.
- Consult Documentation: The user manual that came with your router or an online search for your router's model number will usually provide this information.
- Use Command Prompt (Windows):
- Press
Windows Key + R, typecmd, and press Enter to open the Command Prompt. - Type
ipconfigand press Enter. - Look for your active network adapter (e.g., "Ethernet adapter" or "Wireless LAN adapter"). The IP address listed next to "Default Gateway" is your router's IP address.
- Press
- Use Terminal (MacOS/Linux):
- Open Terminal.
- Type
ifconfigorroute -n get defaultand press Enter. - Look for "gateway" or "router" information to find the IP address.
3. Enter the IP Address into Your Web Browser
- Open any web browser (Chrome, Firefox, Edge, Safari).
- In the address bar (where you usually type website names like google.com), type the correct IP address you found (e.g.,
http://192.168.1.1orhttp://192.168.0.1). - Important Correction: As discussed, avoid common typos like "Https //192 L.168.1.1" or "192.168.l.0.1". The "L" is almost always a "1" or "0". Also, try
http://first ifhttps://doesn't work, as many routers don't support SSL encryption for local access. - Press Enter. This should redirect you to the router's login page.
4. Log In with Your Credentials
- On the login page, you will be prompted for a username and password.
- Default Credentials: If you've never changed them, these are usually found on the router's sticker, in the manual, or by doing a quick online search for your router model's default login. Common defaults include:
- Username:
admin/ Password:admin - Username:
admin/ Password:password - Username:
admin/ Password: (blank) - Username:
user/ Password:user
- Username:
- Enter the credentials and click "Login."
If you're still encountering issues with typos like '192.168.l.0.1', our article Decoding 192.168.l.0.1 Errors: Correct Router IP Access provides further assistance.
Essential Router Settings for Enhanced Security and Performance
Once you're logged into your router's admin panel, you'll find a wealth of settings. Prioritizing these few will significantly boost your network's security and efficiency:
1. Change Your WiFi Network Password
This is arguably the most critical security step for your wireless network. Your WiFi password prevents unauthorized users from connecting to your internet and potentially accessing your network devices. Many routers still ship with weak, easily guessable, or even identical default WiFi passwords.
- Navigate to: Look for sections like "Wireless Settings," "WiFi Setup," or "Security Settings."
- Choose Security Type: Select WPA2-PSK (AES) or, if available and supported by all your devices, WPA3 Personal. Avoid WEP or WPA/WPA-TKIP as they are outdated and vulnerable.
- Create a Strong Password: Choose a password that is long (at least 12-16 characters), complex (mixing uppercase and lowercase letters, numbers, and symbols), and unique.
- Apply and Reboot: Save your changes. Your router may need to reboot, and all connected devices will disconnect, requiring you to re-enter the new password.
2. Change Your Router's Administrator Password
This is separate from your WiFi password and is paramount for securing access to the router's control panel itself. If this password remains at its default, anyone on your network (or even a skilled attacker from outside if other vulnerabilities exist) could log in and change critical settings, including your WiFi password, firewall rules, and more.
- Navigate to: Find sections like "Administration," "System Tools," "Management," or "Password."
- Set a Robust Password: Use a strong, unique password for your admin login, distinct from your WiFi password.
- Save Changes: Apply and reboot if prompted.
3. Update Your Router's Firmware
Router firmware is the operating system for your device. Manufacturers regularly release updates to patch security vulnerabilities, fix bugs, and improve performance. Outdated firmware can be a significant security risk.
- Navigate to: Look for "Firmware Update," "System Update," or "Maintenance."
- Check for Updates: Most modern routers can check for updates directly from the admin panel. Otherwise, visit your router manufacturer's website, find your specific model, and download the latest firmware.
- Install Update: Follow the on-screen instructions. Never interrupt the update process or power off your router during an update, as this can brick the device.
4. Set Up a Guest Network
A guest network provides a separate, isolated WiFi network for visitors, preventing them from accessing your main network's devices (like computers, printers, or smart home devices) while still providing internet access. This is a simple yet effective security measure.
- Navigate to: Find "Guest Network," "Guest WiFi," or "Multi-SSID Settings."
- Enable and Configure: Enable the guest network, give it a unique name (SSID), and set a separate, strong password. You can often limit its speed or duration.
5. Other Advanced Security Considerations
- Disable Remote Management: Ensure that "Remote Management" or "WAN Management" is disabled unless you specifically need to access your router settings from outside your home network.
- Review Connected Devices: Regularly check the list of connected devices in your router's interface to identify any unknown or unauthorized connections.
- Consider Parental Controls: If you have children, explore built-in parental control features to manage internet access times or block specific content.
Troubleshooting Common Router Access Issues
It's not uncommon to encounter hurdles when trying to access your router. Here are solutions to frequent problems:
- "Https //192 L.168.1.1" Not Working: This is almost certainly due to the "L" typo and potentially the "https" prefix. Double-check that you're typing the correct IP (e.g.,
http://192.168.1.1orhttp://192.168.0.1), ensuring you use the numeral "1" or "0" and tryinghttp://ifhttps://fails. - Forgot Admin Password: If you've changed the default admin password and forgotten it, the only solution is usually a hard reset of the router. Look for a small "Reset" button (often recessed, requiring a paperclip) on your router. Holding it down for 10-30 seconds will restore the router to factory defaults, including the default login credentials and all settings. You will then need to reconfigure your entire network.
- IP Address Not Loading:
- Ensure your device is connected to the router (wired or wireless).
- Try restarting your router and your computer.
- Clear your browser's cache and cookies, or try a different web browser.
- Verify you're using the correct IP address for *your* router (use
ipconfig).
- Login Page Appears, but Credentials Fail:
- You might be using incorrect default credentials. Double-check the router sticker or documentation.
- If you previously changed the admin password, you might be using an old one. Consider a factory reset as a last resort.
Conclusion
Mastering your router settings, from changing your WiFi password to securing your admin access, is an empowering step towards a safer and more efficient home network. By understanding the correct IP addresses like 192.168.1.1, avoiding common typos such as the "L" for "1" in "Https //192 L.168.1.1", and diligently updating your router's firmware, you gain complete control over your digital environment. Regularly reviewing and updating these crucial settings ensures not only optimal performance but also a robust defense against potential security threats, keeping your network and your data secure.